High Precision of Measurement
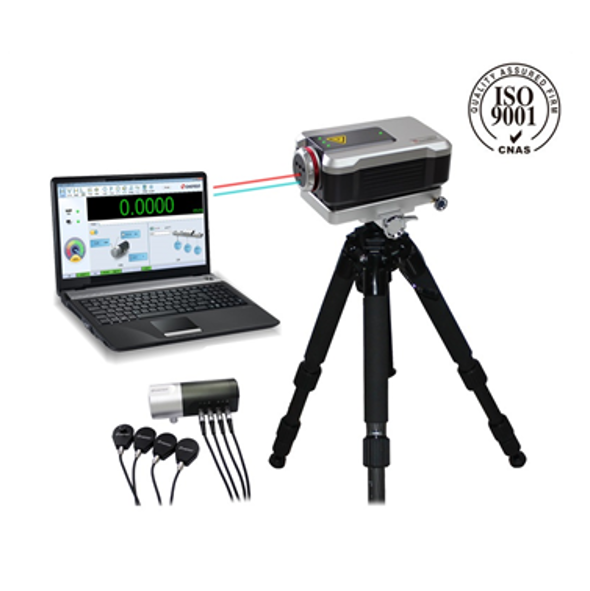
Resolution is up to nanoscale based on the technology of laser interference
With high-precision environmental compensation modules, influences on measuring result which result from temperature, atmospheric pressure, relative humidity, material temperature and other environmental factors are eliminated;
Ensure long-term frequency stability of laser by using the laser thermal frequency stabilization control system;
Design of separating interferoscope from host avoids heat distortion of interferoscope, which ensures the stability of interference optical path.


Whole Parameters Measurement
Measure linearity, angle, straightness, perpendicularity and other geometrical parameters
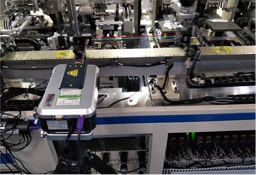
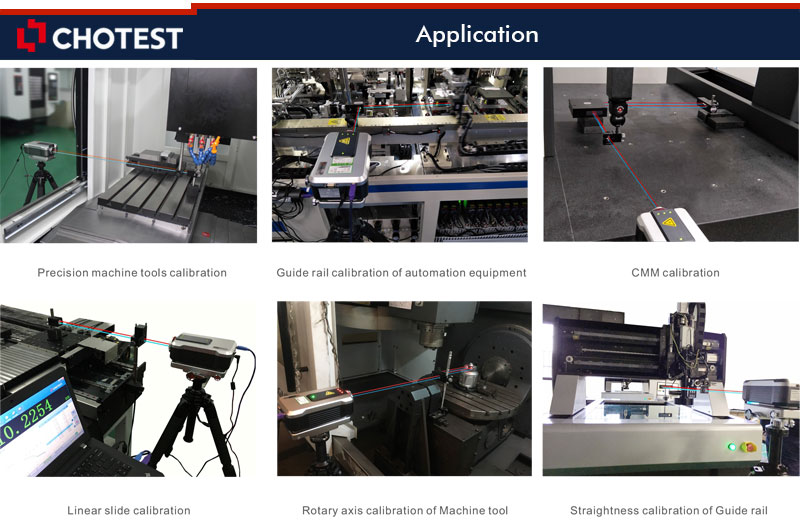
Test the linear positioning accuracy and repeated positioning accuracy of guide rails for CNC machine tools, coordinate measuring machines and other precision motion equipments;
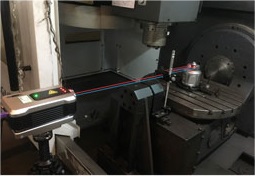
Test the pitch angle, swing angle, perpendicularity and straightness of the guide rails, in addition it can calibrate axis of rotation of machine tools.
Error Compensation
According to compensation settings by user, the system automatically generates error compensation table for calibration of machine tools.


Dynamic Measurement
With functions of Dynamic measurements (displacement-time curve, velocity-time curve, acceleration-time curve), amplitude measurement and frequency analysis, it can analyze vibration test of machine tool, dynamic characteristics of ball screw, response characteristics of drive system, dynamic characteristics of guide rail and so on.

System parameters:
1. Measuring method: single frequency
2. Laser frequency accuracy: 0.05ppm
3. Dynamic capture rate: 50kHz
4. Warm-up time: about 6 min
5. Operating temperature: (0-40)°C
6. Environment temperature: (0-40)°C, humidity: 0-95%
7. Storage temperature: -20°C-70°C
Environmental sensors:
1. Atmospheric temperature sensor : ±0.1°C (0-40)°C, resolution: 0.01°C
2. Material temperature sensor: ±0.1°C (0-40)°C, resolution: 0.01°C
3. Atmospheric humidity sensor: ±5% (0-95%)
4. Atmospheric pressure sensor: ±0.1kPa (65~115)kPa
Linear measurement:
1. Measuring range: (0-80)m
2. Measuring accuracy: 0.5ppm (0-40)°C
3. Measuring resolution: 1nm
4. Maximum measuring speed: 4m/s
Angle measurement:
1. Axial range: (0-15)m
2. Measuring range: ±10°
3. Measuring accuracy: ±(0.02%R+0.1+0.024M)″ (R is indicating value, unit: ″; M is measured length in m)
4. Measuring resolution: 0.1″
Flatness measurement:
1. Axial range: (0-15) m
2. Flatness measuring range: ±1.5 mm
3. Measuring accuracy: ±(0.2%R+0.02M2) μm (R is indicating value in μm; M is measured length in meters)
4. Substrate size: 180mm adjustable, 360mm adjustable
5. Measuring resolution: 0.1μm
Straightness measurement:
| Item | Axis range | Measuring range | Accuracy | Resolution |
| Short straightness | (0.1-4)m | ±3.0mm | ±(0.5+0.25%R+0.15M2)μm | 0.01μm |
| Long straightness | (1-20)m | ±3.0mm | ±(5.0+2.5%R+0.015M2)μm | 0.1μm |
| Note: R is indicating value in μm; M is measured length in meters | ||||
Perpendicularity measurement:
| Item | Axis range | Measuring range | Accuracy | Resolution |
| Short perpendicularity | (0.1-3)m | ±3/M mm/m | ±(2.5+0.25%R+0.8M)μm/m | 0.01μm/m |
| Long perpendicularity | (1-15)m | ±3/M mm/m | ±(2.5+2.5%R+0.08M)μm/m | 0.1μm/m |
| Note: R is test result of perpendicularity; M is measured length in meters | ||||
Rotary axis measurement:
1. Measuring range of angle: 0-360°
2. Max rotation speed: 10rpm
3. Pitch accuracy of precision turntable: ±1″
4. Resolution: 0.1″
Lihat detail lebih lanjut tentang MSP Metrology (M) Sdn Bhd
 Malaysia