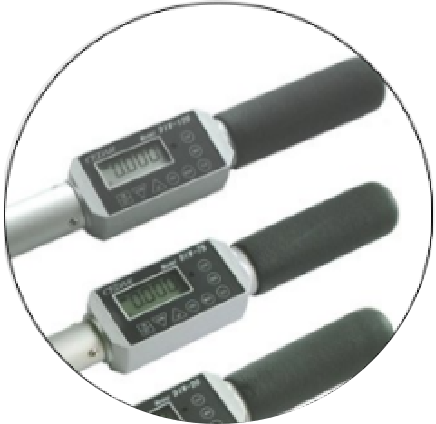
Digital Torque Wrench DIW Series is designed for verification of application or removal of torque bolts by MSP Metrology (M) Sdn Bhd from Cedar Japan.
Features
DIW series (120/75/20/15)
For tightening and final check of screws & bolts
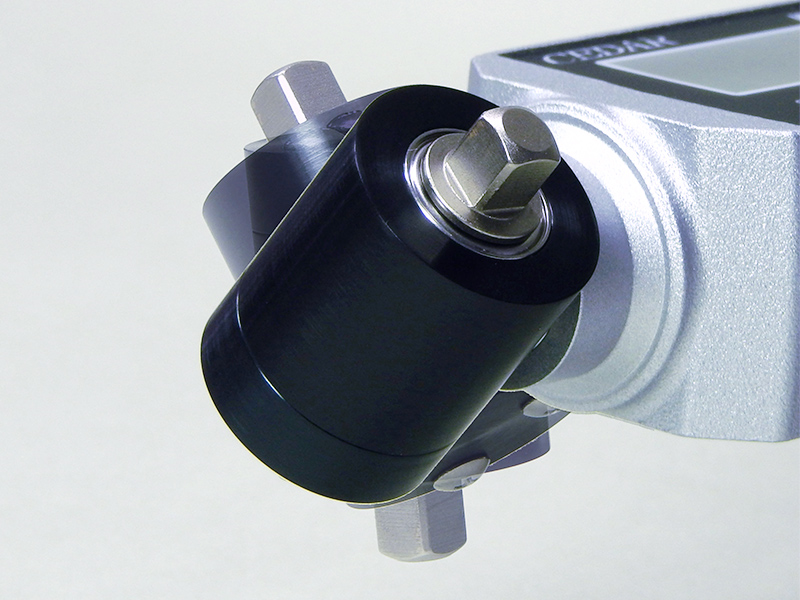
The wrench head part can rotate about 300 degrees! The eyes and the display board can be always parallel and improves operability.
Lightweight and compact with integrated display !
Cordless type and improves operability. Enable to stably measure for long continuous use.Screw tightening counter function is also installed as standard.
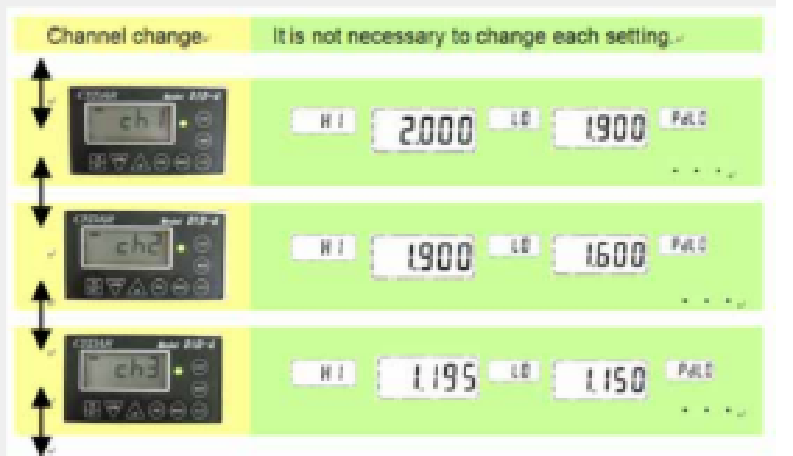
Enable to save 5 channels of pass/fail judgement criterion, and enable to change settings easily by switch channels even if the tightening term changes.

- The wrench head part can rotate about 300 degrees
- Lightweight and compact with integrated display
- 800 items of Memory data
- USB shape of Data output
- Settable upper limit and lower limit torque
- Notify the set value with buzzer & LED lamp
- Built-in tightening counter
- Rechargeable battery drive
- Auto power off safe operation
- Real time data output
- The lineup of the DIW series is DIW-15, DIW-20, DIW-75, DIW-120
- Programmable screw tightening counter
- Programmable Auto Zero function resets unit to zero for easy operation
- Both CW and CCW operation
- ASCII format output (USB)
- Runs on internal Ni-MH batteries (for 12 hours) Auto shut-off after 10 min. of non-use
- AC charger and carrying case included.


Yes-No Conditions Etc. Can Save Five Channels
- A channel is only changed even if bolting conditions change.
- It is not necessary to reset up a maximum value and a minimum value one by one like former.
Full Specifications
| Specification | DIW-15 | DIW-20 | DIW-75 | DIW-120 | |
| Measuring Range (At time of Track) |
0.20 ~ 15 Nm 2.0 ~ 150 kgf・cm 2.0 ~ 130 lbf・in |
0.20 ~ 20 Nm 2.0 ~ 200 kgf・cm 2.0 ~ 174 lbf・in |
0.20 ~ 75 N・m 2.0 ~ 750 kgf・cm 2.0 ~ 650 lbf・in |
2.0 ~ 120 N・m 20 ~ 1200 kgf・cm 20 ~ 1040 lbf・in |
|
| Accuracy | ±0.5% (199 or less digit ±1 digit) | ±0.5% (499 or less digit ±3 digit) | ±0.5% (199 or less digit ±1 digit) | ||
| Display | The 4 figures digital display of LCD | ||||
| The measurement direction | CW-CCW (right and left) | ||||
| Measuring mode |
P-P Peak | Peak load value hold | |||
| T-R Track | Indication of real time torque value (Used for Zero-Adjustment) | ||||
| P-D Peak down | Holding Load Value at the moment to change from upward to downward | ||||
| C Real-time output | Load torque value is outputted every about 1/160 second | ||||
| Decision function |
Setting of torque value | Programmable High and Low setpoints with both audible beep and Green/ Red LED indicator for uniform torque tightening or GO/NO GO testing | |||
| The Maximum, the minimum, and the average value | The data number, the maximum, the minimum value, and the average value of memory data are displayed. | ||||
| A setup of the number of counts | One to 99 count (count in a direction with a bundle) | ||||
| Data spec | Data transfer | ASCII format (Baud rate: 19200) | |||
| Data memory | 800 data | ||||
| Power supply | Ni-Cd chargeable battery 1.2V x 5 cells 700mAh | ||||
| Auto power save | 10 minutes no use, automatically switch off. | ||||
| Charging time | From empty – less than 5hours | ||||
| Continuous working time | 12 hours | ||||
| Outside size | φ34(grip) × 236(L) | φ34(grip) × 235(L) | φ34(grip) × 320(L) | φ34(grip) × 445(L) | |
| Weight | 430g | 470g | 620g | 830g | |
| Socket engagement | 6.35 square, including steel ball | 9.5 square, including steel ball | 12.7 square, including steel ball | ||
| Attachment | One-way socket | ||||
| Accessories (one piece each) |
AC/DC adaptor | ||||
| An inspection report, a proofreading certificate, a traceability system figure | |||||
 Malaysia