Equipped with a high performing pickup having high resolution and wide range.
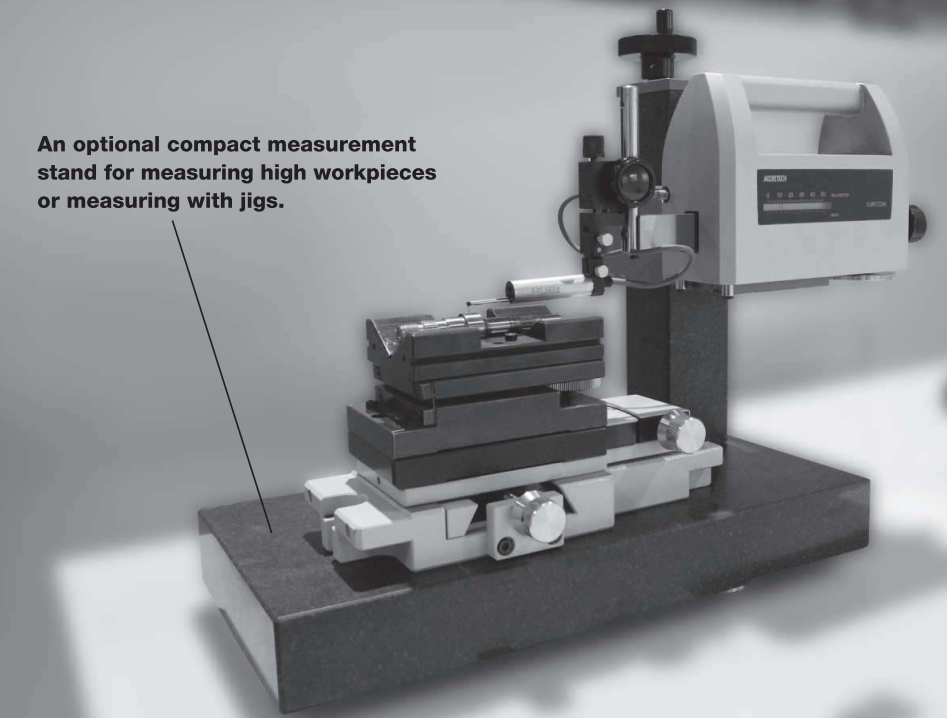
It offers high flexibility where granite base size, column height, and X-axis drive range can be selected depending on needs.
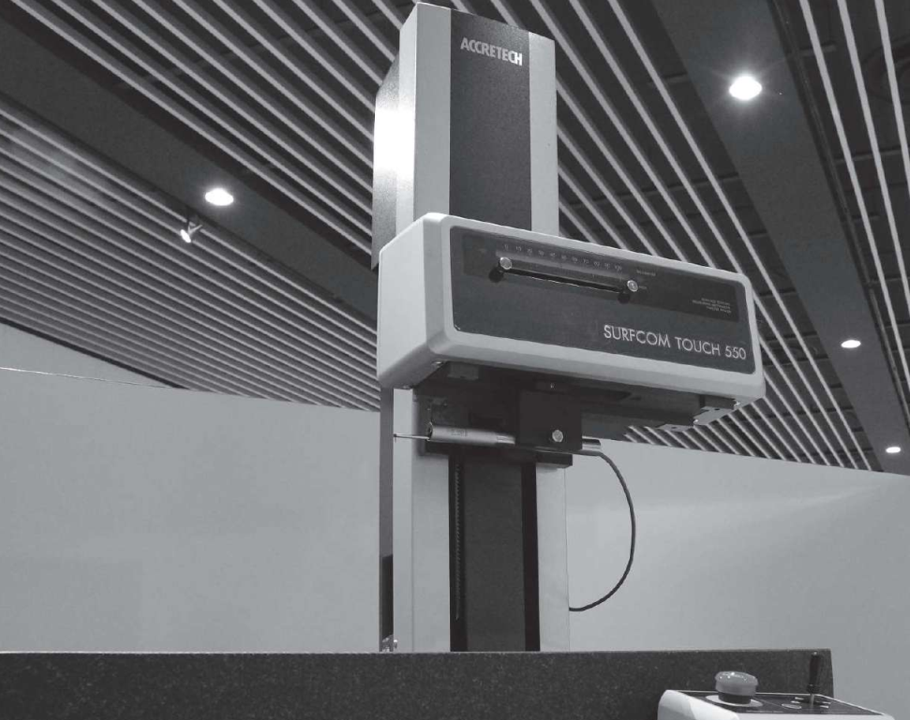
The skidless measurement type with a high performing pickup having high resolution and wide range.
Various types of workpiece can be measured by changing the stylus for deep, long, or small holes or round surfaces

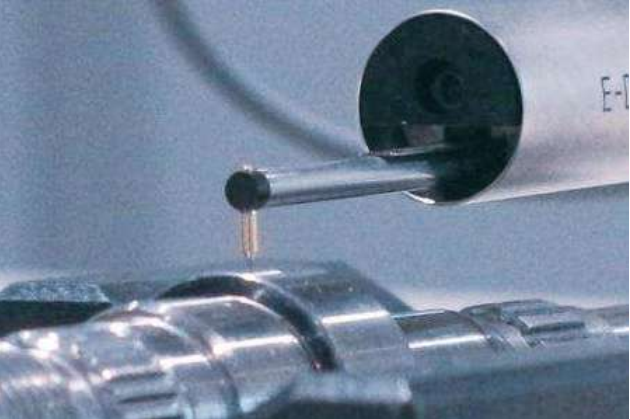

The high performing pickup with a measurement range of 1,000 μm and a Z-axis minimum resolution of 0,0001 μm allows for wide-range and high resolution skidless measurement. No need to consider measurement range.
In addition to flat surface, the roughness or waviness on undulating surface such as stepped or round surface can be evaluated with one trace. Leveling and zeroing before measurement can also be performed easily.
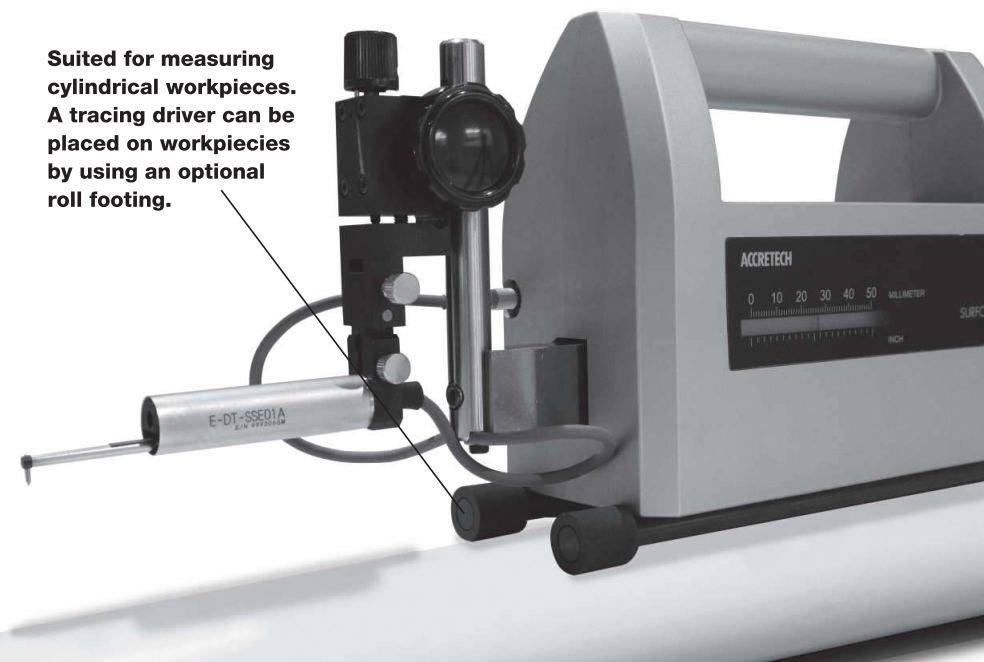
The portable compact size tracing driver for easy installment has an X-axis measurement range of 50mm, a straightness accuracy of 0.3um/50mm, and a detector vertical movement volume of 50mm.
Safe positioning at constant speed is possible by operating the tracing driver in the X direction from the screen of the amplifier.
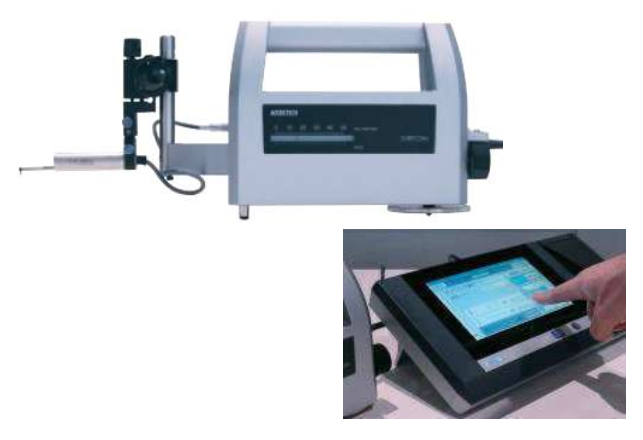
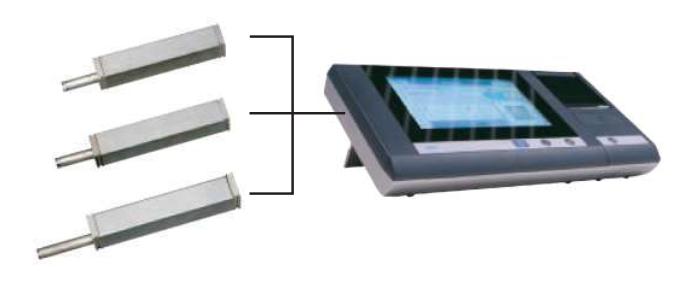
SURFCOM TOUCH 50 can be connected with a handy-type tracing driver.*
Measurement on vertical or ceiling surface and in narrow areas can be performed.
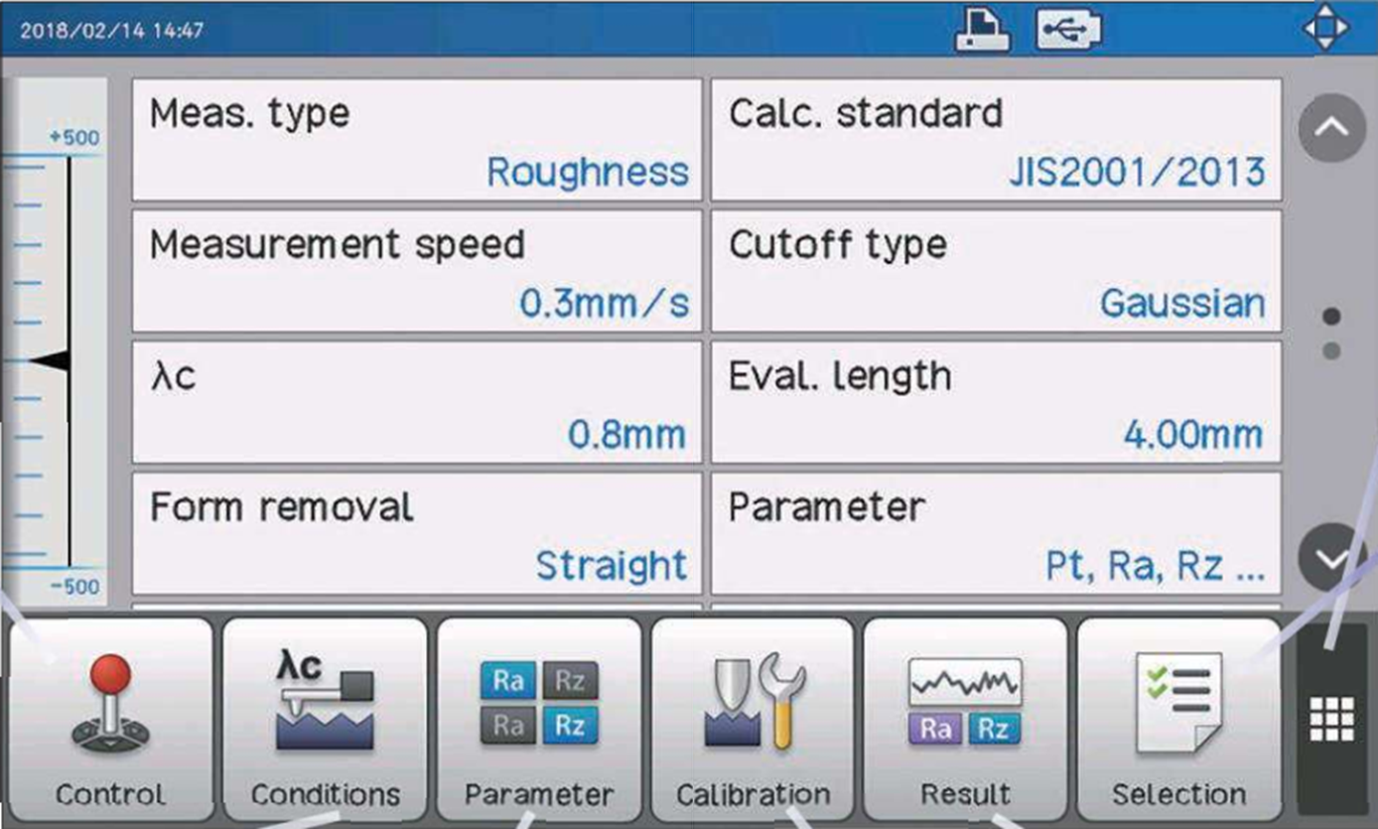
An amplifier with a 7-inch wide touch panel and easy-to-use new interface provides higher operability.
Easy-to-use operation eliminates the need of instructions.
20 Asian and European languages including Japanese, English and German are provided as standard. Language can be easily changed with one touch.

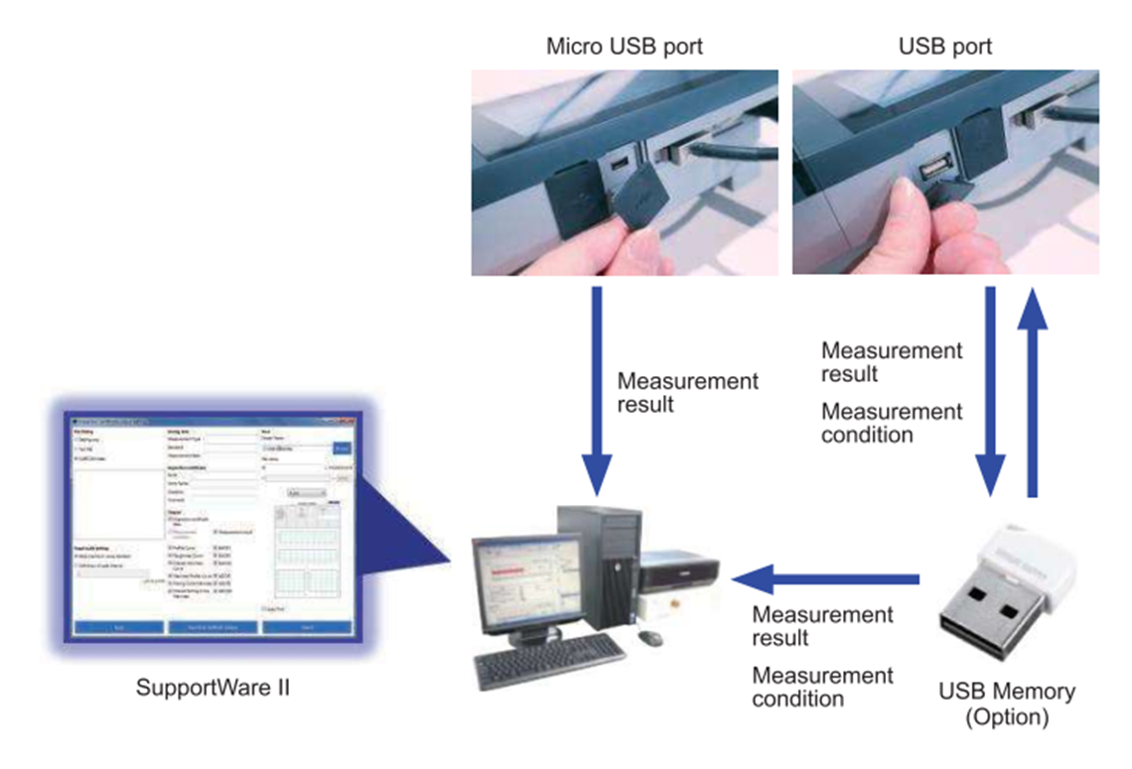
15 measurement conditions and 20 measurement results can be stored in the SURFCOM TOUCH amplifier.
More conditions and results can be stored by connecting a USB memory to the standard USB port.
The amplifier is also equipped with a micro USB port.
Measurement data can be transferred to the computer when connected with a USB cable, and a simple inspection report can be created using attached SupportWare II.
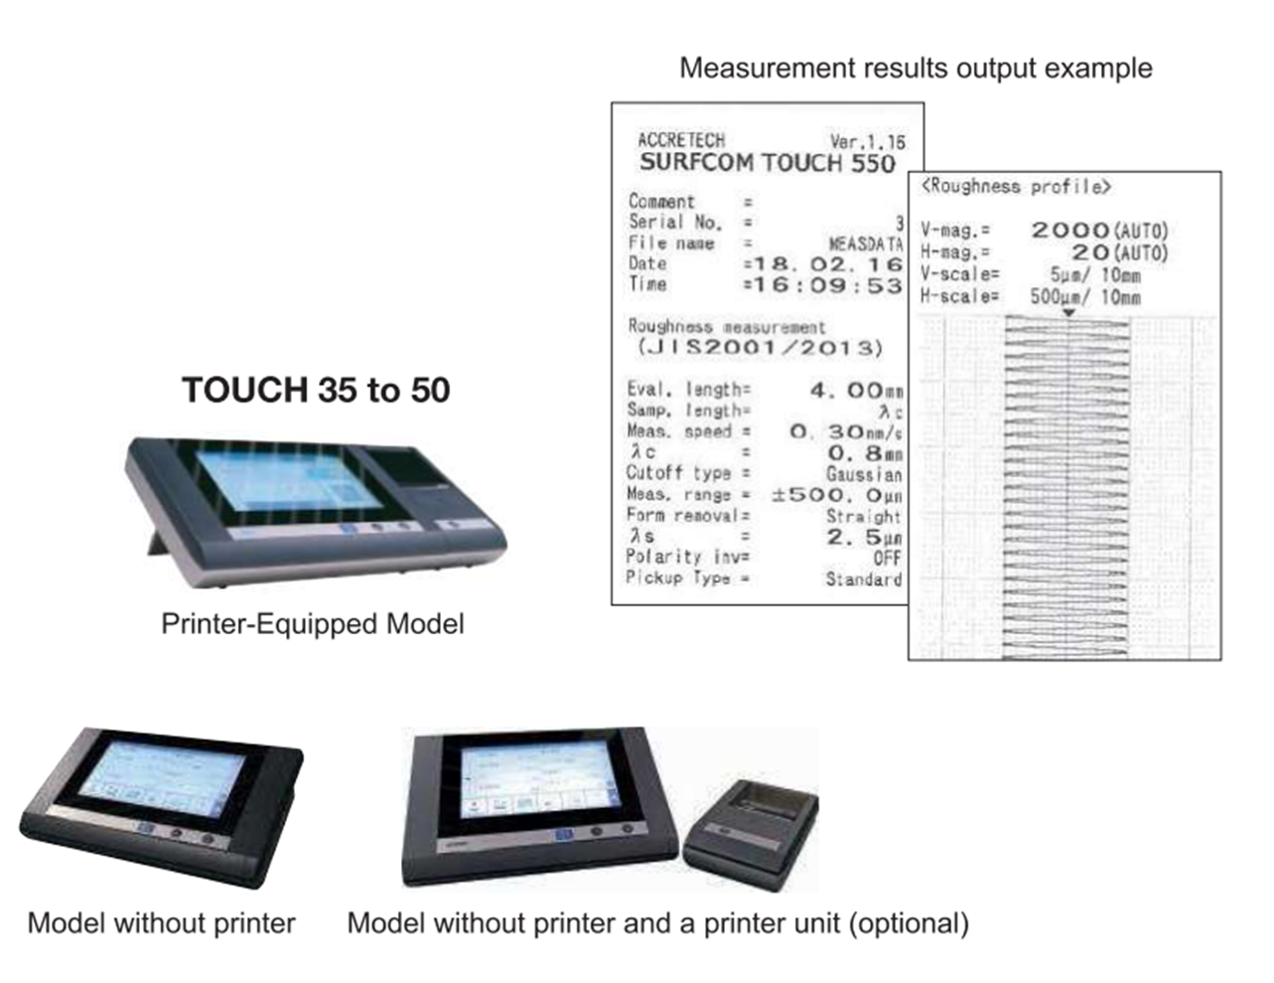
The dedicated printer allows for quick printing of measurement results.
Of course, any measurement data saved in the amplifier or USB memory can be output.
| Model | SURFCOM TOUCH | ||
| 50 | |||
| Measuring Range | Z Direction (µm) | ±500 | |
| X Direction (mm) | 50 | ||
| Tracing Driver | Evaluation Length (mm) | 0.1 to 50 | |
| Straightness Accuracy | 0.3(µm)/50mm | ||
| Detector Vertical Movement Volume | 50mm | ||
| Measurement Speed (mm/s) | 0.15, 0.3, 0.6, 1.5, 3/0.05, 0.1, 0.2, 0.5, 1 (Switching) | ||
| Pick-Up | Sensing Type | Differential Inductance | |
| Measurement Method | Skidless/Skid (Optional) | ||
| Z Direction Resolution | 0.0001μm/±40μm, 0.00125μm/±500μm | ||
| Model | DM43801 | ||
| Stylus (Standard Accessory) | Measurement Force | 0.75mN | |
| Tip Radius | rtip = 2µm | ||
| Tip Angle | 60° cone | ||
| Tip Material | Diamond | ||
| Analysis Item | Calculation Standard | Comply with JIS2013/2001, JIS1994, JIS1982, ISO1997/2009, ISO13565, DIN1990, ASME2002/2009, ASME1995, CNOMO | |
| Parameter | Profile Curve | Pa, Pq, Pp, Pv, Pc, PSm, PΔq, PPc, Psk, Pku, Pt, Pmr(c), Pmr, Pδc, Rz82, TILTA, AVH, Hmax, Hmin, AREA, Rmax, Rz, Sm, Δa, Δq, λa, λq, Lr, Rsk, Rku, Rk, Rpk, Rvk, Mr1, Mr2, Vo, K, tp, tp2, Hp | |
| Roughness Curve | Ra, Rq, Rz, Rv, Rc, Rt, RSm, RΔq, Rsk, Rku, Rmr(c), Rmr, Rδc, Rz94, R3z, RΔa, Rλa, Rλq, Ry, Lr, Sm, S, tp, tp2, PC, RPc JIS, RPc ISO, RPc EN, Pc, PPI, Rp, Rmax, Rz.l, RS, Rmr2, Mr1, Mr2, Rpk, Rvk, Rk, Vo, K, A1, A2. Rpm, Δa, Δq, Htp | ||
| Waviness Profile Curve | Wa, Wq, Wt, Wp, Wv, WSm, WPc, Wsk, Wmr (c), Wmr, Wδc, Wz, Wc, Wku, WΔq, WEM, WEA, WE-a, WE-q, WE-p, WE-v, WE-Sm, WEC-q, WEC-m, WEC-p, WEC-v, WEC-Sm | ||
| Motif | R, Rx, AR, W, Wx, AW, Rke, Rpke, NCRX, NR, CPM, SR, SAR, Wte, NW, SAW, SW, Mr1e, Mr2e, Vo, K | ||
| Evaluation Curve | Profile Curve, Roughness Curve, Filtered Waviness Curve, Wviness Profile Curve, ISO13565 Special Roughness Curve, Roughness Motif Curve, Waviness Motif Curve, Upper Envelope Waviness Curve, Rolling Circle Waviness Curve | ||
| Characteristics Graph | Abbot Curve, Amplitude Density Function, Power Graph | ||
| Filter | Filter Type | Gaussian, 2RC (phase compensation), 2RC (non-phase compensation) | |
| Cutoff Value | λc (mm) | 0.08, 0.25, 0.8, 2.5, 8, 25 | |
| λs (µm) | None, 2.5, 8, 25 | ||
| Amplification Indicator | Display | 7-inch color liquid crystal touch panel | |
| Data Output | USB connectors for USB memory x2 (model without printer) x1 (model with printer), Micro USB connector for USB communication x1 | ||
| Print Output | Standard function for models with printer and optional for models without printer (external printer unit) / Thermal recording paper width: 58mm (recording width: 48mm) | ||
| Language | Japanese, English, Chinese (Traditional Chinese, Simplified Chinese), Korean, Thai, Malay, Vietnamese, Indonesian, German, French, Italian, Czech, Polish, Hungarian, Turkish, Swedish, Dutch, Spanish, Portuguese | ||
| Specifications | Power Supply | Charging | Built-in battery (to be charged using AC adaptor), charging period: 3 hours (about 600 measurements can be take when fully charged) |
| Power Supply | AC100 to 240V ±10%, 50/60 Hz, Single phase | ||
| Power Consumption | Maximum 80VA | ||
| External Dimension (W x D x H)/Weight | Printer-Equipped Model | Amplification Indicator: 320 x 167 x 44 mm/about 4.2kg for he entire system | |
| Models w/o Printer | Amplification Indicator: 252 x 167 x 44 mm/about 3.8kg for he entire system | ||
| Standard Accessories | Roughness Specimen (E-MC-S24C), touch pen (E-MA-S112A), printing paper (E-CH-S25A)*, Instruction manuals, SupportWare II | ||
 Malaysia