HL-150 portable hardness tester, also known as pen-type hardness tester, based on Leeb hardness measuring principle, quick and easy on-site test the hardness of series metal materials, support free conversion between Brinell, Rockwell hardness scale and others, integrated compact design, small size, portable, highly integrated, stable and reliable performance, supporting data transfer and print the stored function. Widely used in failure analysis of metal processing and manufacturing, special equipment, permanent assembly, inspection, and other fields. Particularly suitable for large parts and non-removable parts of the site hardness testing. It is a professional precision instrument to improve the pass rate of production and cost savings.
Functions and Application:
Die cavity of molds
Bearings and other parts
Failure analysis of pressure vessel, steam generator, and other equipment
Heavy workpiece
The installed machinery and permanently assembled parts.
The testing surface of a small hollow space
Requirements of formal original record for test results
Material identification in the warehouse of metallic materials
Rapid testing in large range and multi-measuring areas for large-scale workpiece

Working Principle:
The energy quotient is quoted in the hardness unit HL and is calculated from comparing the impact and rebound velocities of the impact body. It rebounds faster from harder samples than from softer ones, resulting in a greater energy quotient which is defined as 1000×Vr/ Vi.
HL=1000×Vr/ Vi
Where:
HL— Leeb hardness value
Vr — Rebound velocity of the impact body
Vi — Impact velocity of the impact body
Technical Parameters:
| Measuring range | (170~960)HLD |
| Impact direction | vertically downward, oblique, horizontal, oblique, vertical upward, automatically identify |
| Error | Impact device D:±6HLD |
| Repeatability | Impact device D:±6HLD |
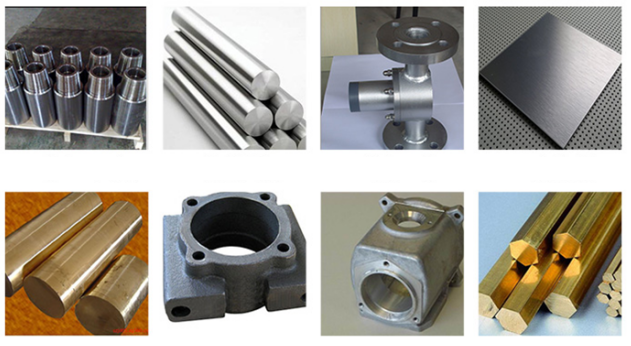
| Material | Steel and cast steel, Cold work tool steel, Stainless steel, Grey cast iron, Nodular cast iron, Cast alum |
| Hardness Scale | HL、HB、HRB、HRC、HRA、HV、HS |
| Min depth for harden layer | D≥0.8mm;C≥0.2mm |
| Display | High-contrast Segment LCD |
| Storage | up to 100 groups(Relative to average times 32~1) |
| Calibration | Single point calibration |
| Data printing | Connect PC to print |
| Working voltage | 3.7V(Built-in lithium polymer battery) |
| Power supply | 5V/500mA;recharge for 2.5~3.5 h |
| Standby period | About 200h(without backlight) |
| Communication interface | USB1.1 |
| Working language | Chinese |
| Shell material | ABS engineering plastic |
| Dimensions | 148mm×33mm×28 mm |
| Total weight | 4.0KG |
| PC software | Yes |
 Malaysia