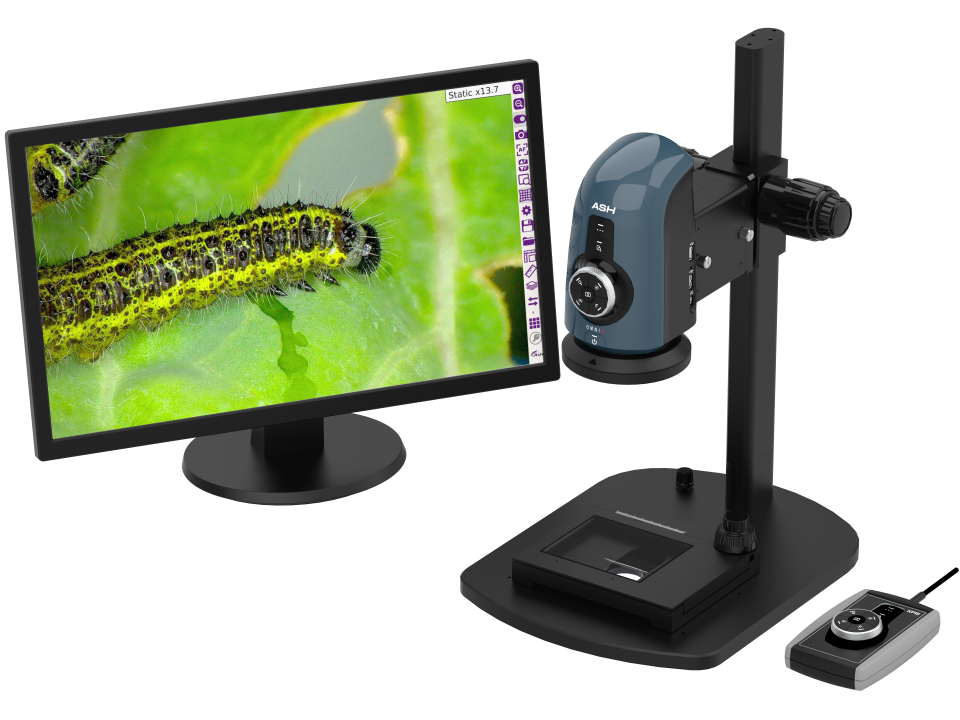
OMNI3 Incorporate the AshCam+™ Zoom Lens Module with a Host of New Benefits for Smart Inspection and Measurement

Feel The Full Power Of The OMNI 3 With Risk-Free Access To ASH Apps!
Each OMNI 3 system offers 30 free trial clicks of all apps. This allows the user unrestricted access to experience each app 30 times before purchasing the full app license.
This model continues on from the successful app trials available with the Omni core, which supported our partners in evaluating which app best suited their needs before purchasing.
Measure in 3D on the new Omni 3.
Now you can measure in the Z axis, in addition to the X and Y axes, bringing the Omni 3 capability to a whole new dimension.
Rapidly inspect your parts up to five times quicker when compared to outdated manual inspection methods.

Automatically identify and count the number of objects within your region of interest.
Increase efficiency by 70% whilst eliminating human error.
Significantly reduce the time spent manually counting parts while reducing costly overheads. Report generation is quick and simple for easy documentation and traceability.
Advanced algorithms automatically calculate the colour value of any sample.
Identify contaminants or foreign objects within your sample. Eliminate human error and improve yield by up to 50%.
Reports can be generated for easy documentation and traceability.
Enhanced AshCal™ Calibration Technology continually maintains calibration at all magnification levels, removing the need for manual re-calibration, saving time and increasing efficiency.
AshCal™ is unique to ASH systems.
OMNI 3 is factory calibrated before shipping.
Place the sample under the Omni 3 and it will immediately focus on your part throughout the inspection process.
Inspect your parts up to three times faster.
Quickly and seamlessly inspect your part without having to adjust manual focus or change the height of the part.
Quickly focus on the area of interest by simply using the mouse pointer.
Increase speed, improve accuracy and reduce human error with the capabilities of SpotFocus™.*
*Patent Applied for.
Use Manual Rocker Focus to accurately adjust the focus level to your region of interest.
Save time by quickly adjusting the focus level using the rocker icon to inspect specific regions on an object when in manual focus mode.

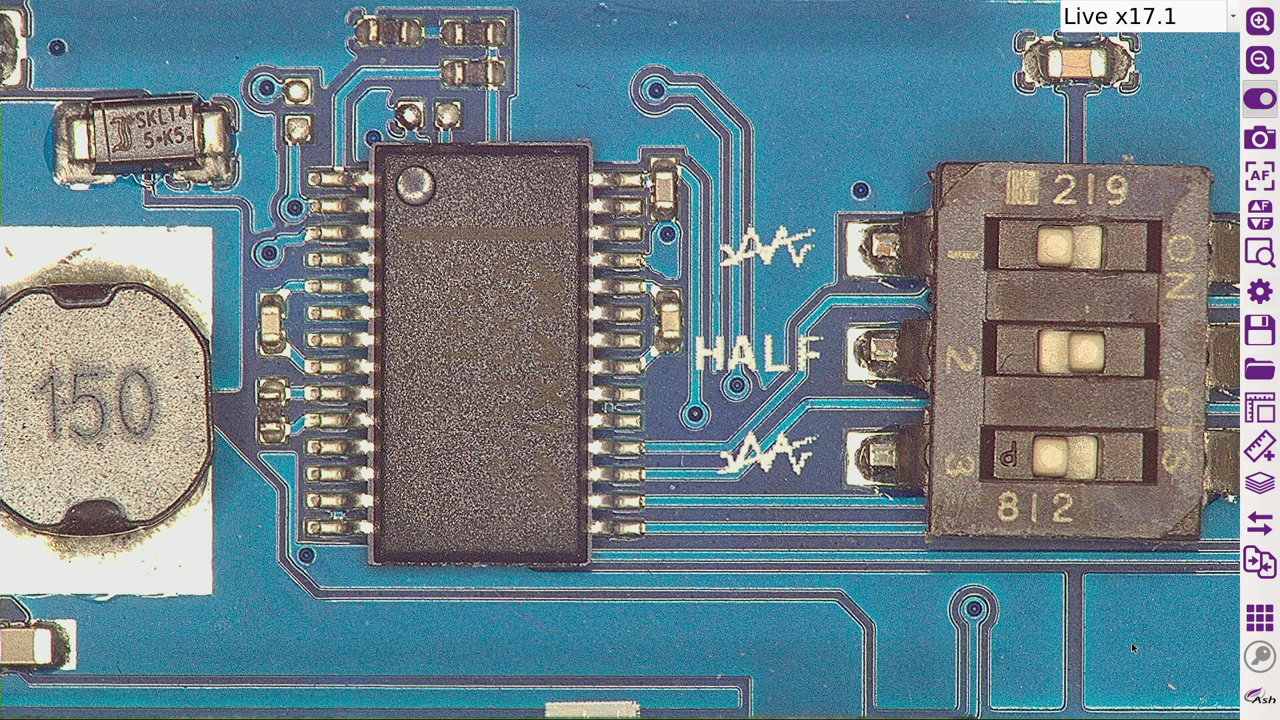
Experience unrivalled Full HD video imaging never seen before in an ASH system.
AshCam+™ enables vibrant image quality ensuring true representation of your sample.
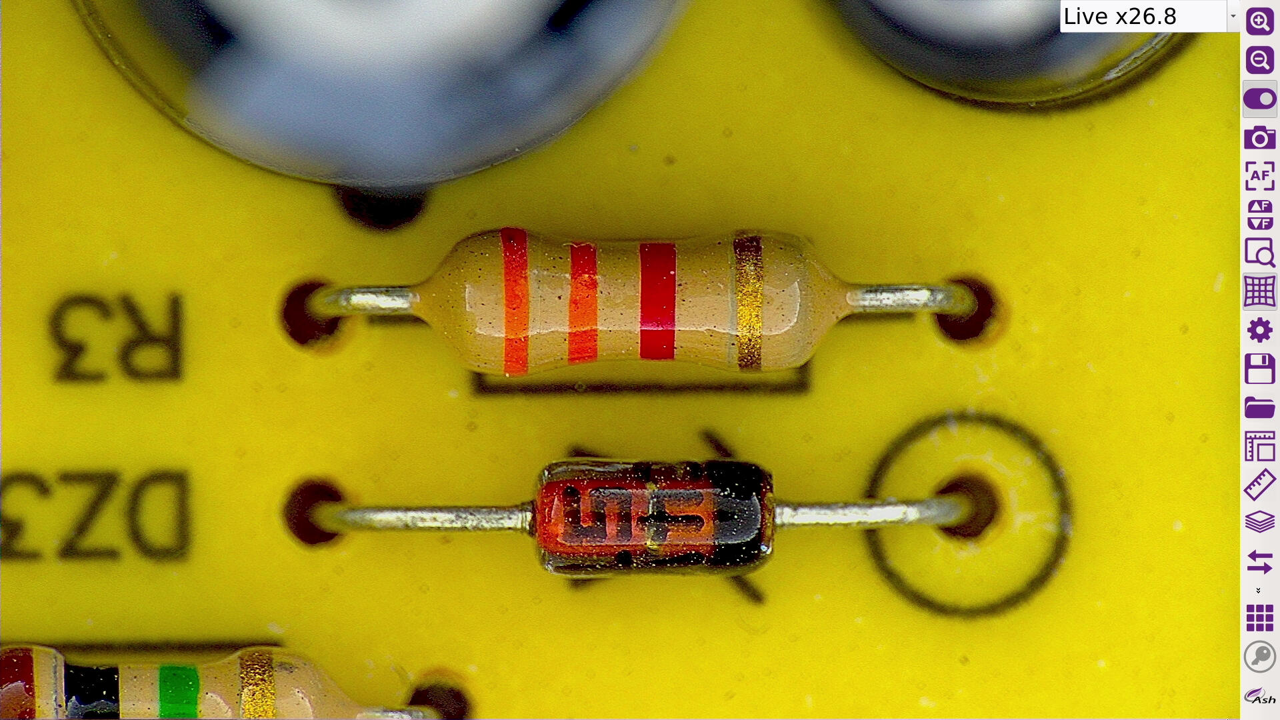
Omni 3 offers an enhanced, crystal clear image for even the most demanding inspection applications.
View true colour reproduction of your sample with Omni 3.
AshCam+™ brings next generation colour reproduction to Omni 3.
Replicate real and accurate colours as seen with the naked eye for true colour representation. *

There is zero delay between movement under Omni 3 and what you see on the screen, resulting in a more efficient inspection process.
Omni 3 is 3x times faster than our previous systems.
View parts in real time with no video lag, allowing you to comfortably inspect, rework, modify or assemble anything.
The new Advanced Camera Settings gives the user more power and control to enhance the image for a wide range of inspection and measurement capabilities.
Ensure image quality exceeds your needs.
Unlock the full potential of Omni 3 by fine-tuning sharpness, contrast, saturation and camera shutter speed to suit your specific requirements.

The Omni 3 has improved depth of field, making inspection much faster and more efficient without the need for changing focus positions or adjusting camera height.
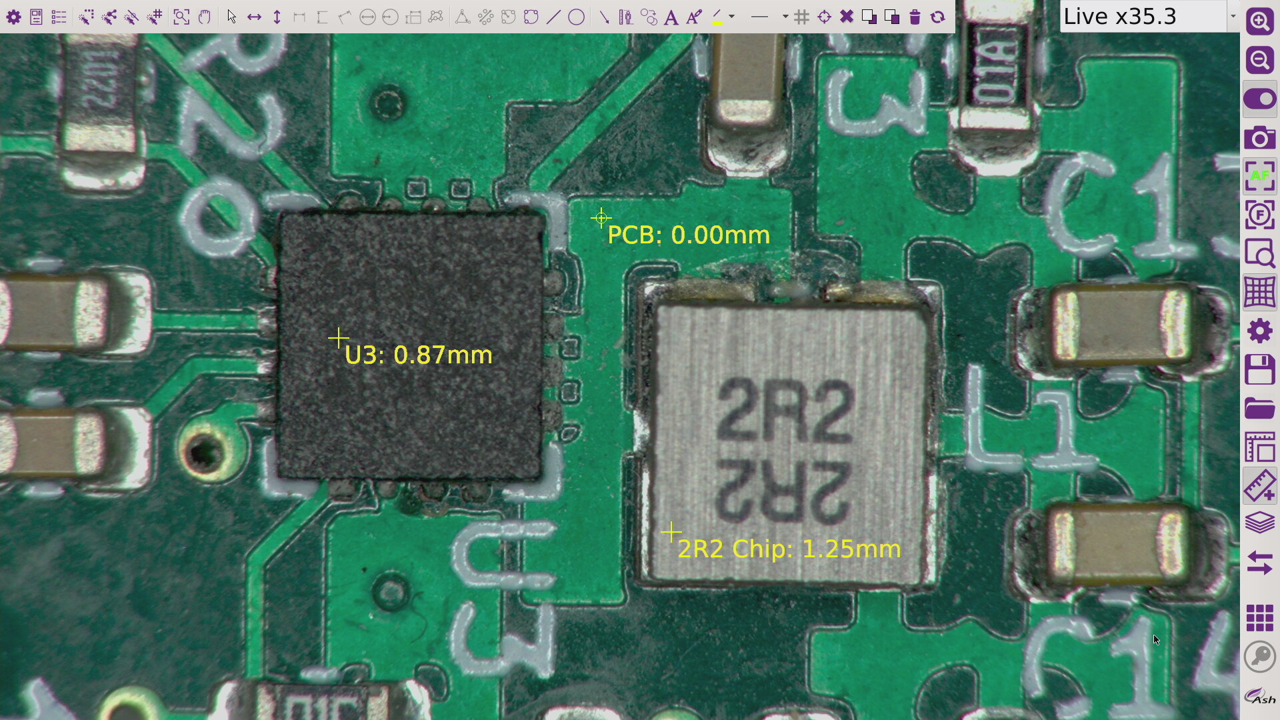
Intuitive on screen full 2D patented measurement application. Simply draw measurements, shapes and add annotations onto a live or static image and save direct to internal memory or external storage options. Features include: point to point, diameter, angle, adjustable X-Y grid, shapes and annotation to accommodate a multitude of samples specifications.
Graticule creation allows samples to be analysed against on-screen digital templates with set tolerance limits. It also enables quick go/no-go defect analysis. This improves efficiency in high-volume sample through-put inspection.
Stitch multiple images together, increasing your field of view at high magnification. Perform full measurements on the full image. Document and annotate for traceability.
Import a range of DXF files to create graticules for overlay comparison with parts. Imported DXF files can be edited and annotated on the Omni system.
This dramatically reduces time taken to create graticules and increases workflow efficiency.
View a sample with different layers all in focus at the same time. Omni automatically captures several images from 2 to 12 at different focal depths and creates an image based on the sharpest regions from each of these separate captures.
This app allows the user to create an image overlay of a master image to identify defects by overlaying and flashing the live sample image against the stored master image.
Enables rapid identification of differences between gold sample and test samples.
Improved accuracy and usability in addition to improved workflow speed.
Visually compare your live sample image to a stored master image in the form of a split screen. Add notes through annotation and save the comparison image for documentation and traceability. Enables rapid identification of differences between gold sample and test samples.
![]()
Intuitive Interface
Intuitive mouse and keyboard GUI for simple and familiar user experience.
![]()
Save time by emailing directly from Omni. Document directly to server or cloud network for traceability.
![]()
User Privileges
User privileges settings enables operational control and traceability.
![]()
Lens Distortion Correction
Lens distortion is inherent in all microscopes. For large samples, distortion at the outer edges of the images can be corrected to enable a larger field of view.
![]()
Networking
Networking enables direct saving to the server or cloud for increased workflow efficiency.
![]()
Internal & External Storage
USB and internal storage of images or graticule files for off network saving.
![]()
Customize Workflow
Create custom workflows to standardize and control inspection processes.
![]()
Customize with Integrated Apps
Flexibility to configure software with a range of applications to suit your needs and budget.
![]()
Compact Footprint
Integrated software avoids the expense and task of qualifying a PC.
![]()
Connected
Save time by documenting directly to server or cloud network for traceability.
![]()
Calibrated for Industry
Calibrated to ISO 17025 standard. No need to calibrate. Maintains calibration while zooming providing trust in our measurement capability.
![]()
Repeatable Measurement
Automatic edge detection for repeatable and reproducible patented measurements that reduce variability between users.
| Lens Type | +5 | +10 Plan 1x | +25 | +50 | |
| Optical | Magnification Range (X) | 2.5 – 68 | 4.8 – 136 | 54.7 – 336 | 109.4 – 673 |
| X-axis FOV (mm) | 200 – 7.5 | 76 – 3.8 | 5.4 – 1.5 | 2.4 – 0.76 | |
| Y-axis FOV (mm) | 112 – 4.2 | 59.5 – 2.1 | 5.4 – 0.85 | 2.4 – 0.43 | |
| Digital | Magnification Range (X) | 69d – 136.5d | 137d -272d | 337d – 673.3d | 674d – 1346d |
| X-axis FOV (mm) | 7.5 – 3.75 | 3.8 – 1.9 | 1.5 – 0.75 | 0.76 – 0.37 | |
| Y-axis FOV (mm) | 4.2 – 2.1 | 2.1 – 1.1 | 0.85 – 0.425 | 0.43 – 0.22 | |
| Working Distance (mm) | 195 | 78 | 36 | 24 | |
| Depth of Field (mm) | 80 (Min. Zoom) / 0.5 (Max. Optical) | 35 (Min. Zoom) / 0.1 (Max. Optical) | 0.3 (Min. Zoom) / 0.1 (Max. Optical) | 0.1 (Min. Zoom) / 0.05 (Max. Optical) | |
| Video Latency (milli seconds) | 20/17 | 20/17 | 20/17 | 20/17 |
| Lens Type | +5 | +10 Plan 1X | +25 | +50 |
|
Accuracy |
+/- 1 | +/- 1 | +/- 1 | +/- 1 |
| Lens Type | Range | Accuracy |
| +5 | 0 – 25mm | 50 µm |
| Model | Omni 3 |
| Magnification Range (with supplied +5 lens) | 2.5 – 68 (Optical) 69d – 136.5d (Digital) |
| Camera Resolution | 1920 x 1080 pixels |
| Monitor Connection | HDMI / DVI |
| Monitor Requirement | HD Ready / Full HD (Recommended) |
| Input/Output | HDMI Output |
| USB 2.0 (x4 Ports) | |
| Mini USB Port | |
| General Purpose IO (x3 Ports) | |
| DC Power Jack 24V | |
| Internal Storage | 16Gb |
| Image Capture | Internal Storage |
| Removable USB Image Storage | |
| USB on the go (PC Connectivity) | |
| Power | 24W |
| Dimensions | 216mm x 125mm x 136mm |
| Weight | 1.5kg |
| Operating Temperature | Storage: 10°C to 60°C |
| Operating: 5°C to 40°C |
Tingnan ang karagdagang mga detalye tungkol sa MSP Metrology (M) Sdn Bhd