 With the SJ-210 Series...
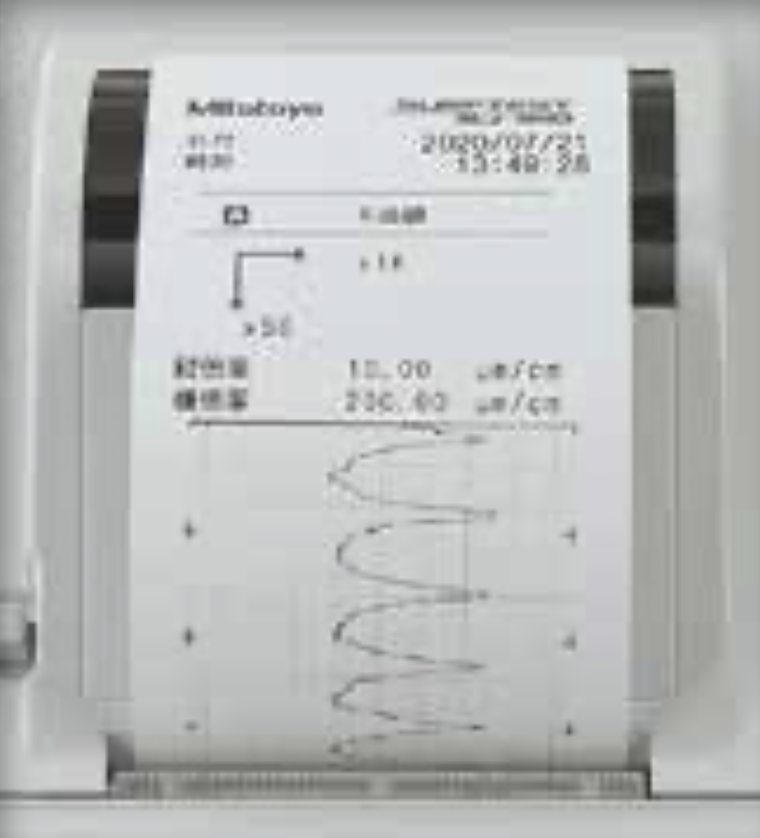
You can measure while checking roughness from the waveform!

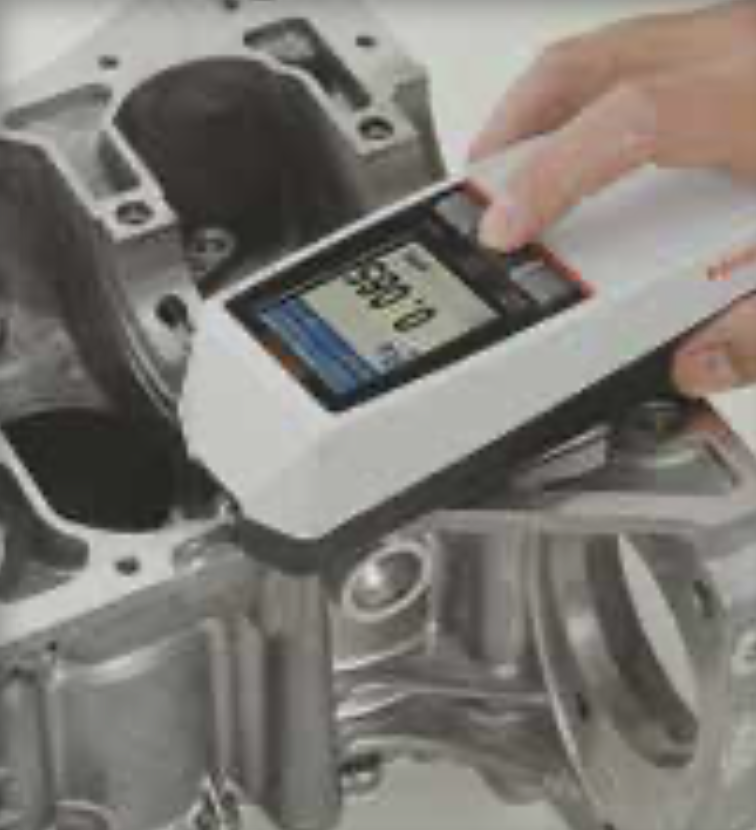
You don't have to carry large, heavy workpieces because you can measure it on site!
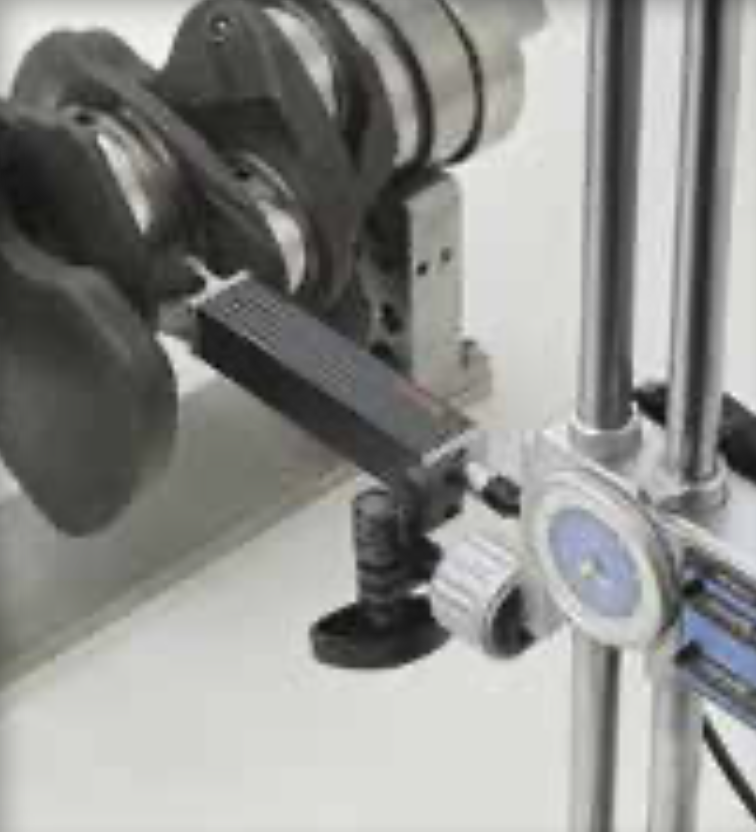
Lightweight and compact, you can measure any side without trouble!

| Type of detector | Standard drive unit type | |||
| Model No. |
SJ-210 (0.75 mN type) |
|||
| Order No. | 178-561-11E | |||
| Measuring range | X axis | 16.0 mm | ||
| Z axis (Detector) | Range | 360 μm (-200 μm to +160 μm) | ||
| Range/ Resolution |
360 μm/0.02 μm 100 μm/0.006 μm 25 μm/0.002 μm |
|||
| Measuring speed |
When measuring: 0.25 mm/s, 0.5 mm/s, 0.75 mm/s When returning: 1 mm/s |
|||
| Measuring force/Stylus tip | 0.75 mN/2 μmR 60° | |||
| Skid force | 400 mN or less | |||
| Applicable standards | JIS ’82/JIS ’94/JIS ’01/ISO ’97/ANSI/VDA | |||
| Assessed profiles | Primary profile, Roughness profile, DF profile, Roughness profile-Motif | |||
| Parameters | Ra, Rc, Ry, Rz, Rq, Rt, Rmax*1 , Rp, Rv, R3z, Rsk, Rku, Rc, RPc, Rsm, Rz1max*2, S, HSC, RzJIS*3, Rppi, RΔa, RΔq, Rlr, Rmr, Rmr(c), Rδc, Rk, Rpk, Rvk, Mr1, Mr2, A1, A2, Vo, Rpm, tp*4, Htp*4, R, Rx, AR, Possible Customize | |||
| Graph analysis | Bearning area curve, Amplitude distribution curve | |||
| Filters | Gaussian, 2CR75, PC75 | |||
| Cut off length | λc | 0.08, 0.25, 0.8, 2.5 mm | ||
| λs*5 | 2.5, 8 μm | |||
| Sampling length | 0.08, 0.25, 0.8, 2.5 mm | |||
| Number of sampling lengths |
×1, ×2, ×3, ×4, ×5, ×6, ×7, ×8, ×9, ×10, arbitrary length (0.3 to 16.0 mm: 0.01 mm interval) |
|||
| LCD dimensions | 36.7×48.9 mm | |||
| Display languages | Japanese, English, German, French, Italian, Spanish, Portuguese, Korean, Traditional Chinese, Simplified Chinese, Czech, Polish, Hungarian, Turkish, Swedish, Dutch | |||
| Measurement result display |
Vertical display: 1-parameter display/3-parameter display/Trace display Horizontal display: 1-parameter display/4-parameter display/Trace display (Horizontal display is invertible) |
|||
|
Printing function*6 (Dedicated printer is required separately) |
Measurement conditions/Calculation results/GO/NG judgement result/Calculation results for each sampling length/ Assessed profile/Bearing area curve/Amplitude distribution curve/Environment setting information | |||
| External I / O | USB I / F, Digimatic Output, Printer Output, RS-232C I / F, Foot SW I / F | |||
| Functions | Customization | Desired parameters can be selected for calculation and display | ||
| GO/NG judgment*7 | By max value/16 %/Standard deviation | |||
| Storage of measurement condition | Save the conditions at power OFF | |||
| Storage |
Internal memory: Measurement condition (10 sets) Memory card (optional): 500 measurement conditions, 10000 measured profiles, 500 display images Text file (Measurement conditions / Measured profile / Assessed profile / Bearing area curve / Amplitude distribution curve) |
|||
| Calibration |
Auto-calibration with the entry of numerical value / Average calibration with multiple measurement (Max. 5 times) is available |
|||
| Power-saving function | Auto-sleep off function (10-600 sec)*8 | |||
| Power supply |
Two-way power supply: battery (rechargeable Ni-MH battery) and AC adapter Note 1: Charging time: about 4 hours (may vary due to ambient temperature) Note 2: Endurance: about 1000 measurements (differs slightly due to use conditions / environment) |
|||
| Size (W×D×H) | Display unit | 52.1×65.8×160 mm (sliding cover closed, detector not mounted) | ||
| Drive unit | 115×23×26 mm (detector not mounted) | |||
| Mass | About 500 g (Display unit + Drive unit + Standard detector) | |||
| Standard accessories |
12BAA303 Connecting cable*9 178-601 Roughness specimen (Ra 3 μm) 12BAR344 Carrying case 12BAK700 Calibration stage Protective sheets for display, AC Adapter, Operation manual, Quick reference manual, Warranty |
|||