Ultrasonic Flaw Detector
Weld inspection in the power gener- Ation and petrochemical industries
Flaw location with display of all coordinates,sound path,(reduced) surface distance,depth position and leg number

Display of every sound beam reflec tion (number of half skip distances or legs) and identification of
leg color on the "live“ A-scan
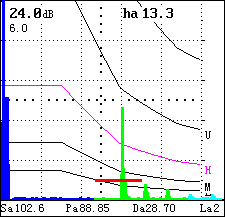
New powerful DAC/TCG with JIS DAC Module according to JIS Z 3060-2002
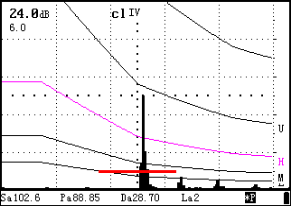
Amplitude evaluation in dB refering to a previously recorded reference dcho or according to AWS D1.1
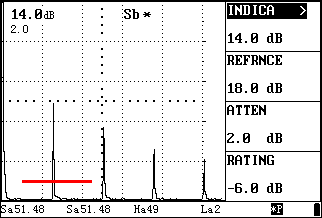
Precise thickness measurement for the automobile industry
You can measure the sound path difference precisely at the peaks of an echo sequence with a resolution of 0.01mm/
DGS evaluation with direct digital ERS readout
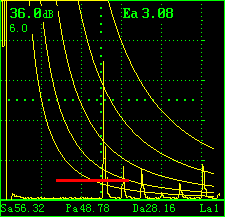
Inspection of forgings in the power generation and aerospace sectors;
The automatic setting of the pulse repetition frequency from 20Hz to 1kHz h
Eliminates phantom echoes while inspecting fine grain and large work pieces.
Defects from an equivalent reflector size 0.3mm onwards will be detected
Inspection of special materials in the aerospace and automobile industry
Corrosion wall thickness in the power generationand petroch emical sectors
During wall thickness measurement on corroded parts using dual element probes,you simultaneously check the reading together with the A-scan,thus rece-iving the maximum reliability for the measurement.On hot surfaces you use the auto-freeze function,minimi-zing the probe`s contact time.The minimum capture mode gives you the thinnest measured reading at the end of a continuous scan
Harsh field and industrial environments
• Extended temperature range from 0℃ to 60℃
• Weight only 2.0 kg
• Extended bettery life to 8 hours under real test conditions
Fast and bright color screen
Color brings you many additional benefits in your daily inspection job:
• Color display of monitor gates and curves (DAC,TCG,DGS) for direct recognition
• Color coded display of angle beam inspection of welds
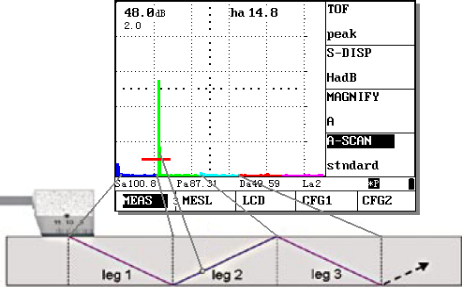
Color-coded display of legs in tests using angle-beam probes
• Use of color to display references (A-scan) toMake comparisions easy
• Multicolor screen combinations for operator per-ferences and to select best suitable color scheme according
to the working environment
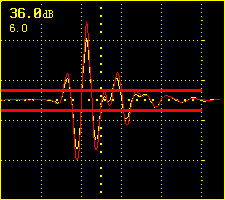
A-scan companision
• Colorized envelope curve display for echodynamic analysis
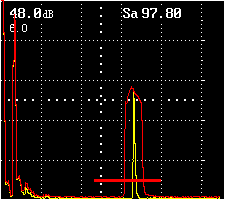
Envelope curve
Square Wave Pulser (option)
Selectable and tunable for optimum probe matching to satisfy a wide range of tough-to-penetrate applications.
For low frequencies,square wave pulsers allow optimum probe matching by adjusting pulse width and voltage.
Difficult to penetrate metallic applications and especially non-metals inspection like composite materials are
optimized.
• Pulse width is tunable up to 1000ns in 10ns steps for optimum probe matching and versatility in meeting a wide
range of appli-cations.
• Pulser voltage is adjustable from 25 to 500V in 10V steps.
DAC Functions
Recording reference echoes in DAC mode will be simplified by automatic gain adjustment.The echo to be recorded will be set automatically at 80% and stored the dB-difference to the first reference echo can be displayed,if needed.The new JIS-
DAC meets the latest JIS Z3060-2002 specifications.
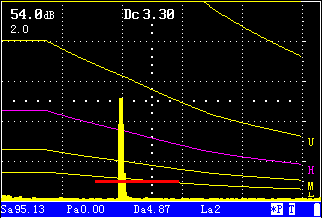
New DAC function according to zhe latest JIS Z3060-2002
Three different time of flight measured ments
Depending an the time of flight mode selected,the distances and amplitudes will be measured and displayde for
the echo in each gate.
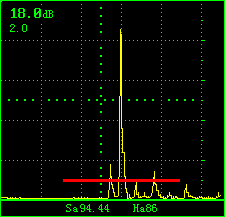
Peak:sound path and anplitude at the highest echo in the gate
Curved surface correction
Corrects sound path information when using an angle beam transducer to circumferentially inspect a curvedsurface
for either trbular or bar inspections.
Data reporting
200 datasets enable a great number of calibration settings and test results to be stored.Also extended
up to 1200 documented with a memo field containing 9 added information for memory and analysis.The re-Port
or setting can be uploaded to a computer using.
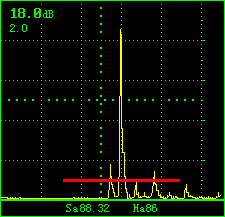
Flank:sound path at the intersection of the first echo with the gate threshold;amplitude at the highest echo in
the gate
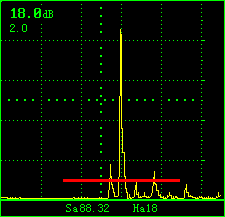
Fank:sound path at the intersection of the first echo with the gate threshold;amplitude at the highest echo in
the gate.
Curved surface correction
Corrects sound path information when using an angle beam transducer to circumferentially inspect
a curved surface for either tubular or bar inspections.
Data reporting
900 datasets enable a great number of calibration settings and test results to be stored. Also
Extended up to 1900 datasets. Each report can be documented with a memo field containing 9 added information for memory and analysis . The report or setting can be uploaded to a computer using an RS-232 or USB (with USB-RS accessory) for saving, reviewing or printing.
Measure readings
Up to 20 measure readings are selected to be displayed on the screen,measure can be carried out instantaneous
or behind freeze.
Other benefits
We have also implemented innovations from the computer industry in the battery concept to make your daily
work easier: the rechargeable lithium-ion battery pack enables you to carry out your inspec-tions for at least 8
hours.Charging is easily carried our internally within the instrument just by connect-ing the power adapter to
the detector.
Tingnan ang karagdagang mga detalye tungkol sa LUX & BRILLIANCE TECHNOLOGIES SDN. BHD.