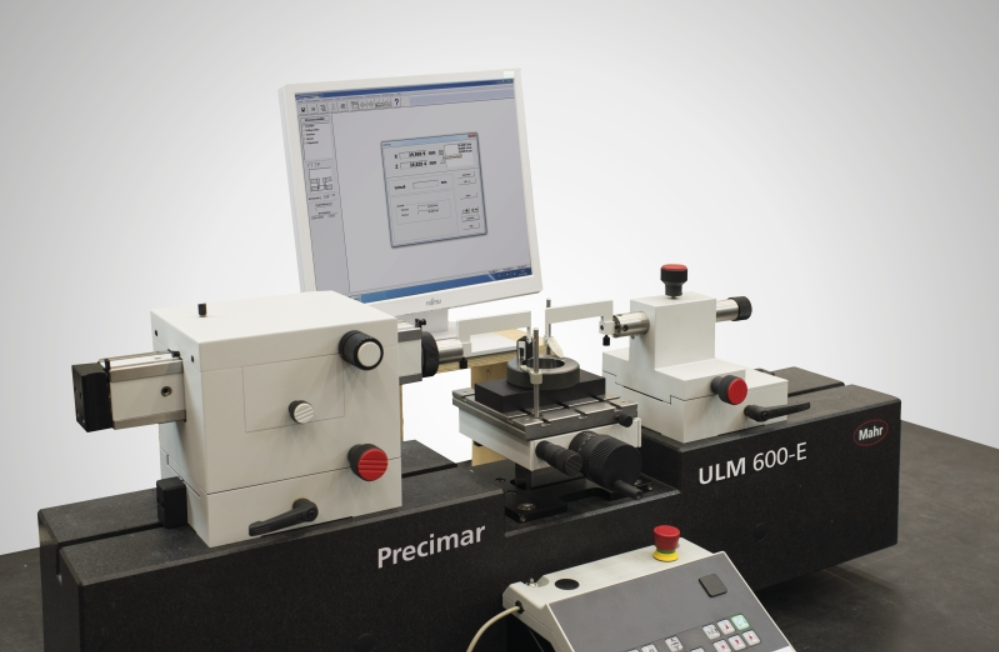
Granite & Air Bearing Technology


Online Temperature Monitoring
Correction of different expansion behavior of granite and metal and correction of systematic measuring errors due to temperature fluctuations in testpiece and setting standard
Z Measuring System
Greater productivity and option of 2D measuring methods by incorporating Z position and travel values
.png)

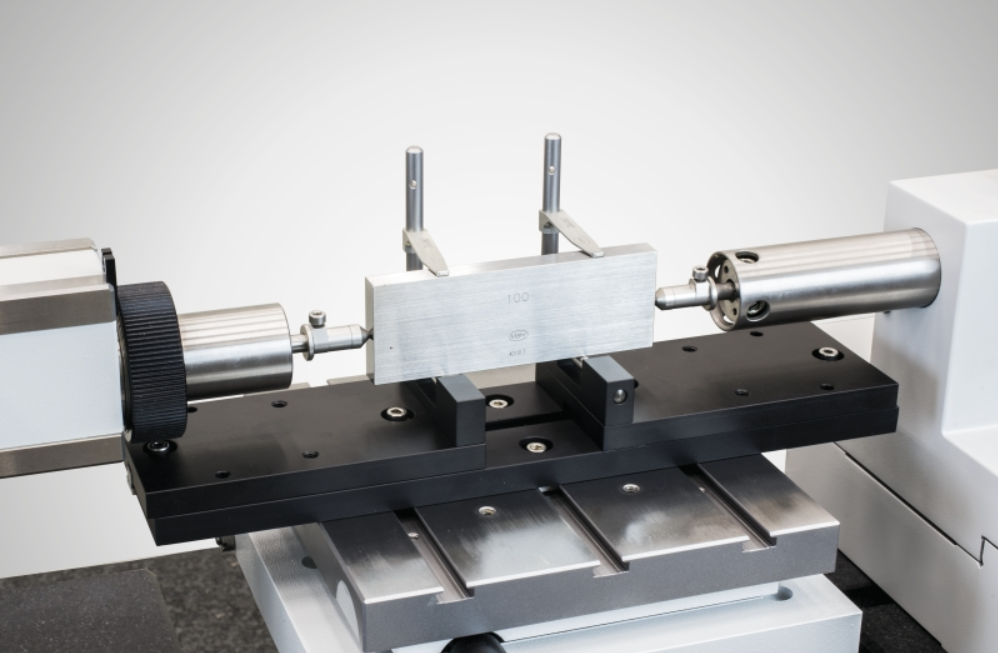
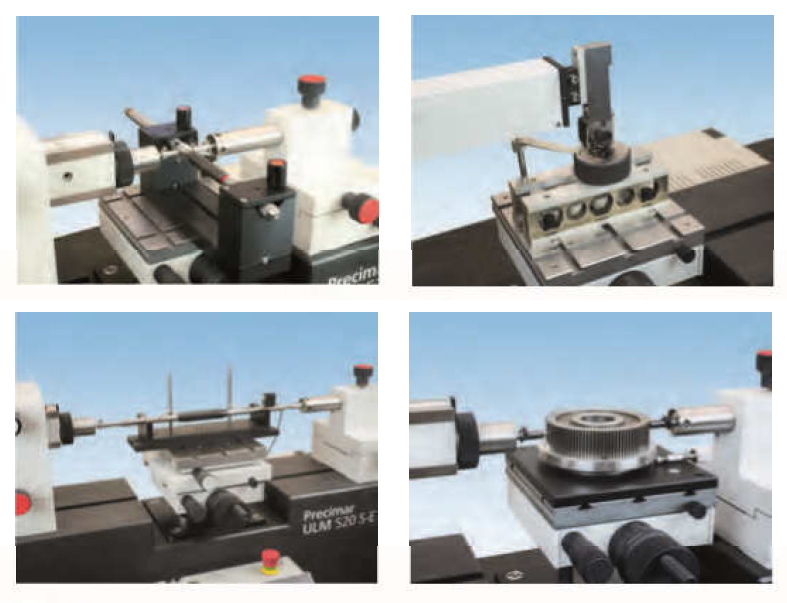
Large Number of Accessories
Adaptability to measurement tasks thanks to specially configured accessory sets and individual components
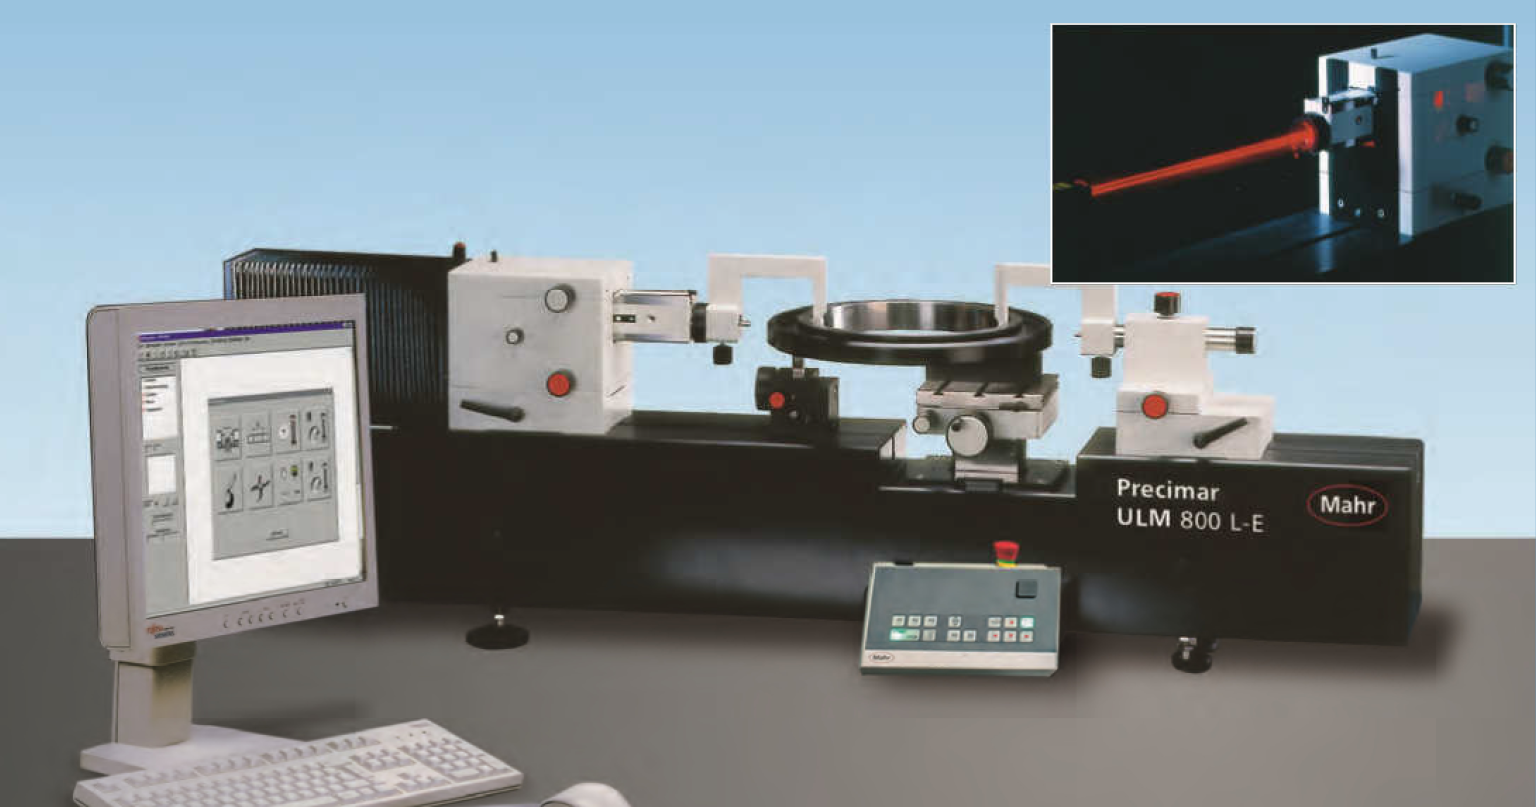
Laser Meas. System (with ULM L-E)
Large direct measuring range with maximum measuring accuracy
Powerful MS Windows Software
Maximum convenience; inside thread measurement is supported with automatic Z-positioning

| ULM 300-E / 600-E / 1000-E / 1500-E and ULM 800 L-E / 1500 L-E. Technical Data | ||||||||||||
| Measuring Ranges | ULM 300-E | ULM 600-E / 1000-E / 1500-E | ULM 800 L-E /1500 L-E | |||||||||
| External measurement | Direct Difference | 0 to 100 | 0 to 100 | 0 to 525 / 1,115 | ||||||||
| 0 to 305 | 0 to 640 / 1,060 / 1,560 | 0 to 830 / 1,620 | ||||||||||
| Internal meas. | 0.5 to 150 | 0.5 to 485 / 905 / 1,405 | 0.5 to 670 / 1,465 | |||||||||
| Taper meas. | External | 0 to 305 | 0 to 640 / 1,060 / 1,560 | 0 to 830 / 1,620 | ||||||||
| Internal | 4 to 150 | 4 to 485 / 905 / 1,405 | 4 to 675 / 1,465 | |||||||||
| Cylindrical thread | External d2 (P=0.2 to 6) | 0.8 to 200* | 0.8 to 200* | 0.8 to 200* | ||||||||
| Internal D2 (P=0.45 to 6) | 2.6 to 150 | 2.6 to 340 / 760 / 1,260 | 2.6 to 530 / 1,320 | |||||||||
| Lead (P/T) | – | (0.35) 1,0 to 5.5 (6.5) | (0.35) 1,0 to 5.5 (6.5) | |||||||||
| Taper thread | External d2 | 2.6 to 50 | 2.6 to 85 | 2.6 to 85 | ||||||||
| Internal D2 | 2.6 to 70 | 2.6 to 125 | 2.6 to 125 (205) | |||||||||
| Gear | External MdK | 7 to 295 | 7 to 630 / 1,050 / 1,550 | 7 to 820 / 1,610 | ||||||||
| Internal MdK | 20 to 155 | 20 to 490 / 910 / 1,410 | 20 to 680 / 1,470 | |||||||||
| Measuring instruments with displays | Micrometers, dial indicators, dia comparators, level-type test indicators, two-point internal measuring instr. inside micrometers | 5 to 100 | 5.0 to 300 / 780 / 780 | 5.0 to 550 / 1340 | ||||||||
| up to 100 | up to 100 | up to 100 | ||||||||||
| – | 0 to 360 / 780 / 1,280 | 0 to 615 / 1,205 | ||||||||||
| 0 to 305 | 0 to 640 / 1,060 / 1,560 | 0 to 830 / 1,620 | ||||||||||
Notes:
*Details in brackets with single measuring wires.
All values in mm.
In some cases, additional standards and optional accessories are required to achieve the measuring ranges indicated.
Values higher or lower than those given can be achieved with special accessories
The concrete geometry and weight of the testpiece may restrict the measuring ranges indicated.
| Performance Data | ||||||||||||
| Length meas. System X-axis | Resolution | selectable 0.01 μm or 0.1 μm | selectable 0.01 μm or 0.1 μm | |||||||||
| Length meas. System Z-axis | Resolution | 0.1 μm | 0.1 μm | |||||||||
| Instr. System | Length measuring deviation MPEE1 Reproducibility | **) ≤ (0.09+L/2,000) μm or (0.3+L/1,500) μm | ≤ (0.1+L/2,000) μm | |||||||||
| 0.05 μm or 0.1 μm | 0.05 μm | |||||||||||
| Travel speed | Object table adjustment Measuring spindle | 0.015 mm/s; 0.3mm/s; 6 mm/s | 0.015 mm/s; 0.3mm/s; 6 mm/s | |||||||||
| (0 to 250) mm/s | (0 to 250) mm/s | |||||||||||
| Measuring forces | 0.2 N; 1.0 N to 4.5 N; 11 N | 0.2 N; 1.0 N to 4.5 N; 11 N | ||||||||||
| Dimensions, Weights and Operating Conditions | ||||||||||||
| Instrument dimensions | L x W x H | 685 x 280 x 480 | 1,080/ 1,500/ 2,000 x 380 x 480 | 1,500 / 2,300 x 380 x 480 | ||||||||
| Instument weight | in kg | 110 | 160 / 215 / 280 | 220 / 325 | ||||||||
| Testpiece weight | for testpiece table | 25 kg | 25 kg | 25 kg | ||||||||
| for support table | – | 10 kg | 10 kg | |||||||||
| Electrical connection data | Instrument, PC, laser | 220 (110) V; 50 Hz to 60Hz; | 220 (110) V; 50 Hz to 60Hz; | |||||||||
| approx. 750 VA | approx. 750 VA | |||||||||||
| Compressed air | – | 3 bar (0.3 MPa) | 3 bar (0.3 MPa) | |||||||||
| Air consumption | – | ≤ 4 l/min at 3 bar | ≤ 4 l/min at 3 bar | |||||||||
| Humidity | – | ≤ 60% | ≤ 60% | |||||||||
| Ambient temperature for operational readiness | 15°C to 35°C | 15°C to 35°C | ||||||||||
| 20°C ± 0.1K; gradient < 0.1K/h | 20°C ± 0.1K; gradient < 0.1K/h | |||||||||||
| ** ULM 300-E only ≤ (0.09+L/2,000) μm | ||||||||||||
| ULM 520 S-E / 1000 S-E. Technical Data | ||||||||||||
| Measuring Ranges | ULM 520 S-E | ULM 1000 S-E | ||||||||||
| External measurement | Direct Difference | 0 to 520 | 0 to 1,015 | |||||||||
| 0 to 520 | 0 to 1,015 | |||||||||||
| Internal meas. | 0.5 to 365 | 0.5 to 870 | ||||||||||
| Taper meas. | External | 0 to 520 | 0 to 1,025 | |||||||||
| Internal | 4 to 365 | 4 to 870 | ||||||||||
| Cylindrical thread | External d2 (P=0.2 to 6) | 0.8 to 200* | 0.8 to 200* | |||||||||
| Internal D2 (P=0.45 to 6) | 2.6 to 195 | 2.6 to 615 | ||||||||||
| Lead (P/T) | (0.35) 1.0 to 5.5 (6.5) | (0.35) 1.0 to 5.5 (6.5) | ||||||||||
| Taper thread | External d2 | 2.6 to 85 | 2.6 to 85 | |||||||||
| Internal D2 | 2.6 to 165** | 2.6 to 165** | ||||||||||
| Gear | External MdK | 7 to 510 | 7 to 1,015 | |||||||||
| Internal MdK | 20 to 370 | 20 to 875 | ||||||||||
| Measuring instruments with displays | Micrometers, dial indicators, dia comparators, level-type test indicators, two-point internal measuring instr. inside micrometers | 5 to 180 | 5 to 745 | |||||||||
| up to 100 | up to 100 | |||||||||||
| – | – | |||||||||||
| 0 to 520 | 0 to 1,025 | |||||||||||
Notes:
*Details in brackets with single measuring wires.
** Reduced accuracy if > 125 mm
All values in mm.
In some cases, additional standards and optional accessories are required to achieve the measuring ranges indicated.
Values higher or lower than those given can be achieved with special accessories
The concrete geometry and weight of the testpiece may restrict the measuring ranges indicated.
| Performance Data | ||||||||||||
| Length meas. System X-axis | Resolution | selectable 0.01 μm or 0.1 μm | ||||||||||
| Length meas. System Z-axis | Resolution | 0.1 μm | ||||||||||
| Instr. System | Length measuring deviation | with ABBE measuring element only: MPEE1= (0.09+L/2,000) μm | ||||||||||
| Reproducibility | with base measuring system: MPEE1 = (0.6+L/1,000) μm | |||||||||||
| for Abbe measuring element 0.05 μm | ||||||||||||
| for base measuring system 0.2 μm | ||||||||||||
| Travel speed | Object table adjustment Measuring spindle | 0.015 mm/s; 0.3mm/s; 6 mm/s | ||||||||||
| (0 to 250) mm/s | ||||||||||||
| Measuring forces | 0.2 N; 1.0 N to 4.5 N; 11 N | |||||||||||
| Dimensions, Weights and Operating Conditions | ||||||||||||
| Instrument dimension | L x W x H | 1,080 x 380 x 480 | 1,500 x 380 x 480 | |||||||||
| Instrument weight | in kg | 160 | 215 | |||||||||
| Testpiece weight | for testpiece table | 25 kg | 25 kg | |||||||||
| for support table | 10 kg | 10 kg | ||||||||||
| Electrical connection data | Instrument, PC, laser | 220 (110) V; 50 Hz to 60Hz; | ||||||||||
| approx. 750 VA | ||||||||||||
| Compressed air | 3 bar (0.3 MPa) | |||||||||||
| Air consumption | ≤ 4 l/min at 3 bar | |||||||||||
| Humidity | ≤ 60% | |||||||||||
| Ambient temperature for operational readiness | 15°C to 35°C | |||||||||||
| 20°C ± 0.1K; gradient < 0.1K/h | ||||||||||||
| ** ULM 300-E only ≤ (0.09+L/2,000) μm | ||||||||||||
Lebih maklumat tentang MSP Metrology (M) Sdn Bhd
 Malaysia