• A hard frame body providing excellent rigidity
• White edge of dial for easy to read
• Hardened and ground contact point
• Satin chrome-finish case for durability
• Precision gear-driven design with smooth movement
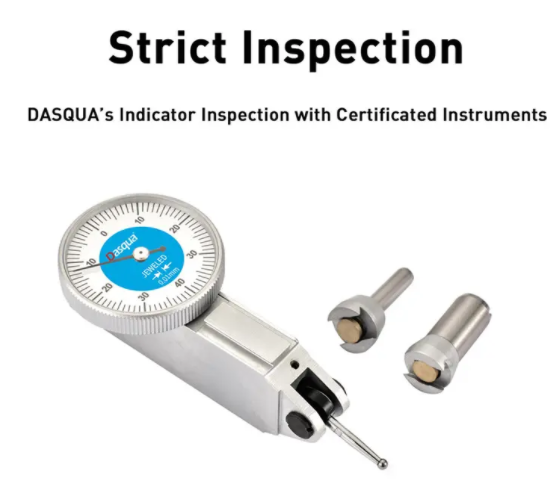
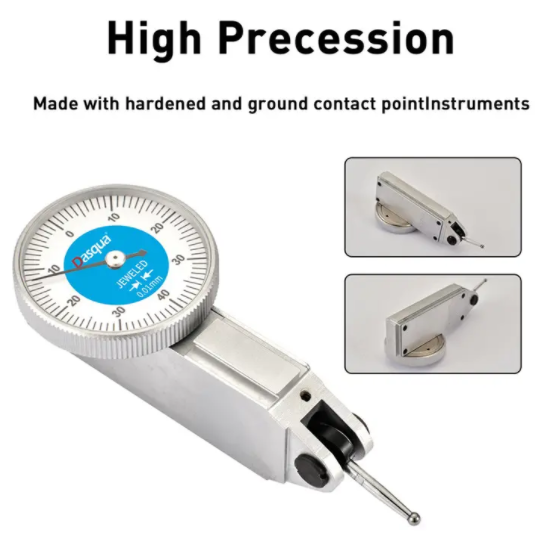
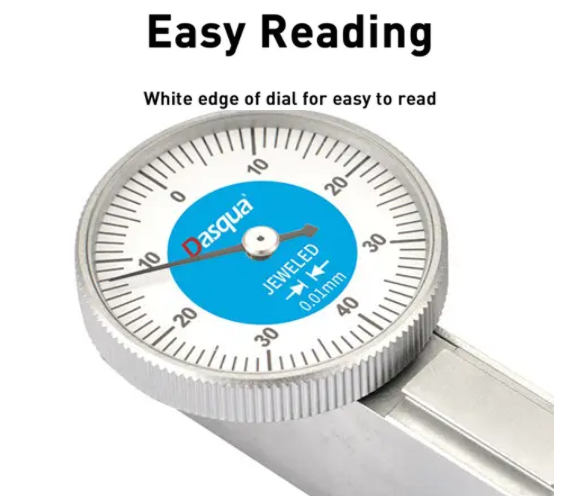

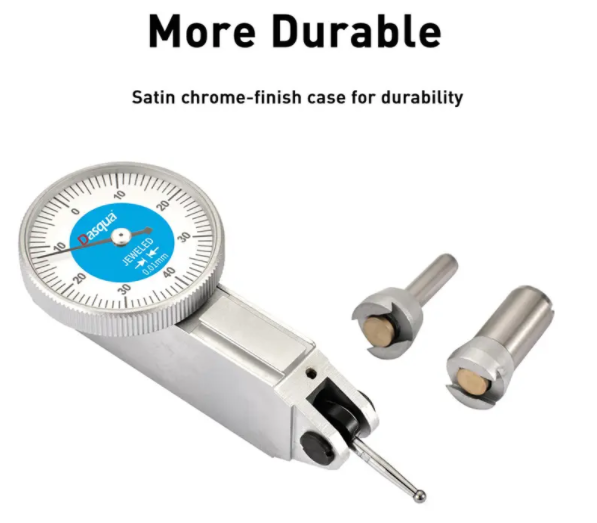
Dial test indicators are very similar to dial indicators, except that the axis of measurement is perpendicular to the axis of the indicator. Dial and dial test indicators can be analog, with a mechanical dial, or electronic, with a digital display. Some electronic models transfer the data electronically to a computer for recording and potential manipulation.
• High quality material and precision machining process ensure product quality;
• A traceable QC system is worthy of your trust;
• Efficient warehouse and logistics management ensure your delivery time;
• A two-year warranty makes you without the worries behind;
Dial readings with three digits, such as 0-10-0, signify that the indicator has a balanced dial. Dial readings with two digits, such as 0-100, indicate that the dial has a continuous dial. Balanced dials are used to read the difference from a specific surface reference point. Continuous dials are used for direct readings and usually have a larger measurement range than balanced dials. Optional features include jeweled bearings for high sensitivity and accuracy, a revolution counter to measure overall change, waterproof, dustproof, shockproof, a white or black face, and reverse reading for depth or bore gage measurement.
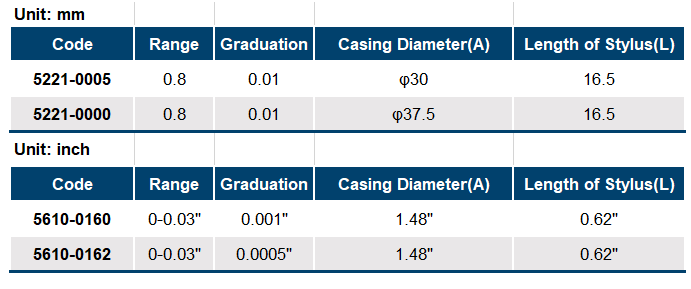
Product Name: Dial Test Indicator
Item Number: 5221-0005
Measuring Range: 0~8 mm / 0~003’’
Graduation: ±0.01 mm / 0.0005’’
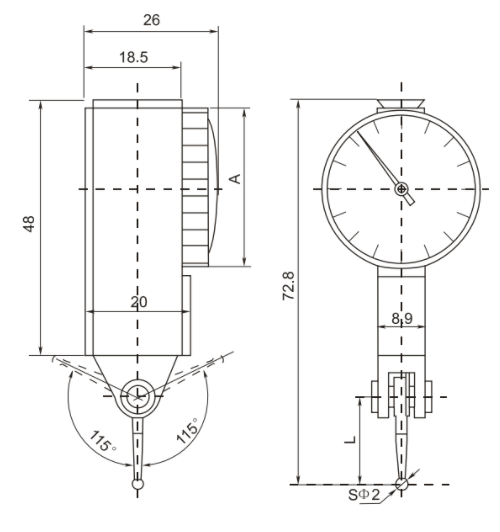
Casing Diameter: 30mm
Length of Stylus: 16.5mm
Warranty: Two Years
1 x Dial Test Indicator
1 x Protective Case
1 x Warranty Letter
 Malaysia